Your Guide To Filling Out A Check In 6 Easy Steps (With Examples)
This post may have affiliate links. Please read the Disclosure Policy for complete details.
Filling out a check isn’t something that many people have to do these days.
Trust me, I know first-hand.
I have had the same checks since first opening my checking account 10+ years ago.
And that was like 3 financial institutions ago after mergers lol.
That’s because, even as a Gen-Xer, I hate cash and checks.
Specifically, I find it easier to manage money without them.
Some people don’t use checks to protect themselves against identity theft or check fraud.
Sometimes, however, it is just necessary to write a check.
I want to stress one point: it’s perfectly fine to not be familiar with this process.
I don’t want anyone to feel any negative way whatsoever-you should never feel bad for not having knowledge about a particular subject.
So, let’s go over the steps for filling out a check, shall we?
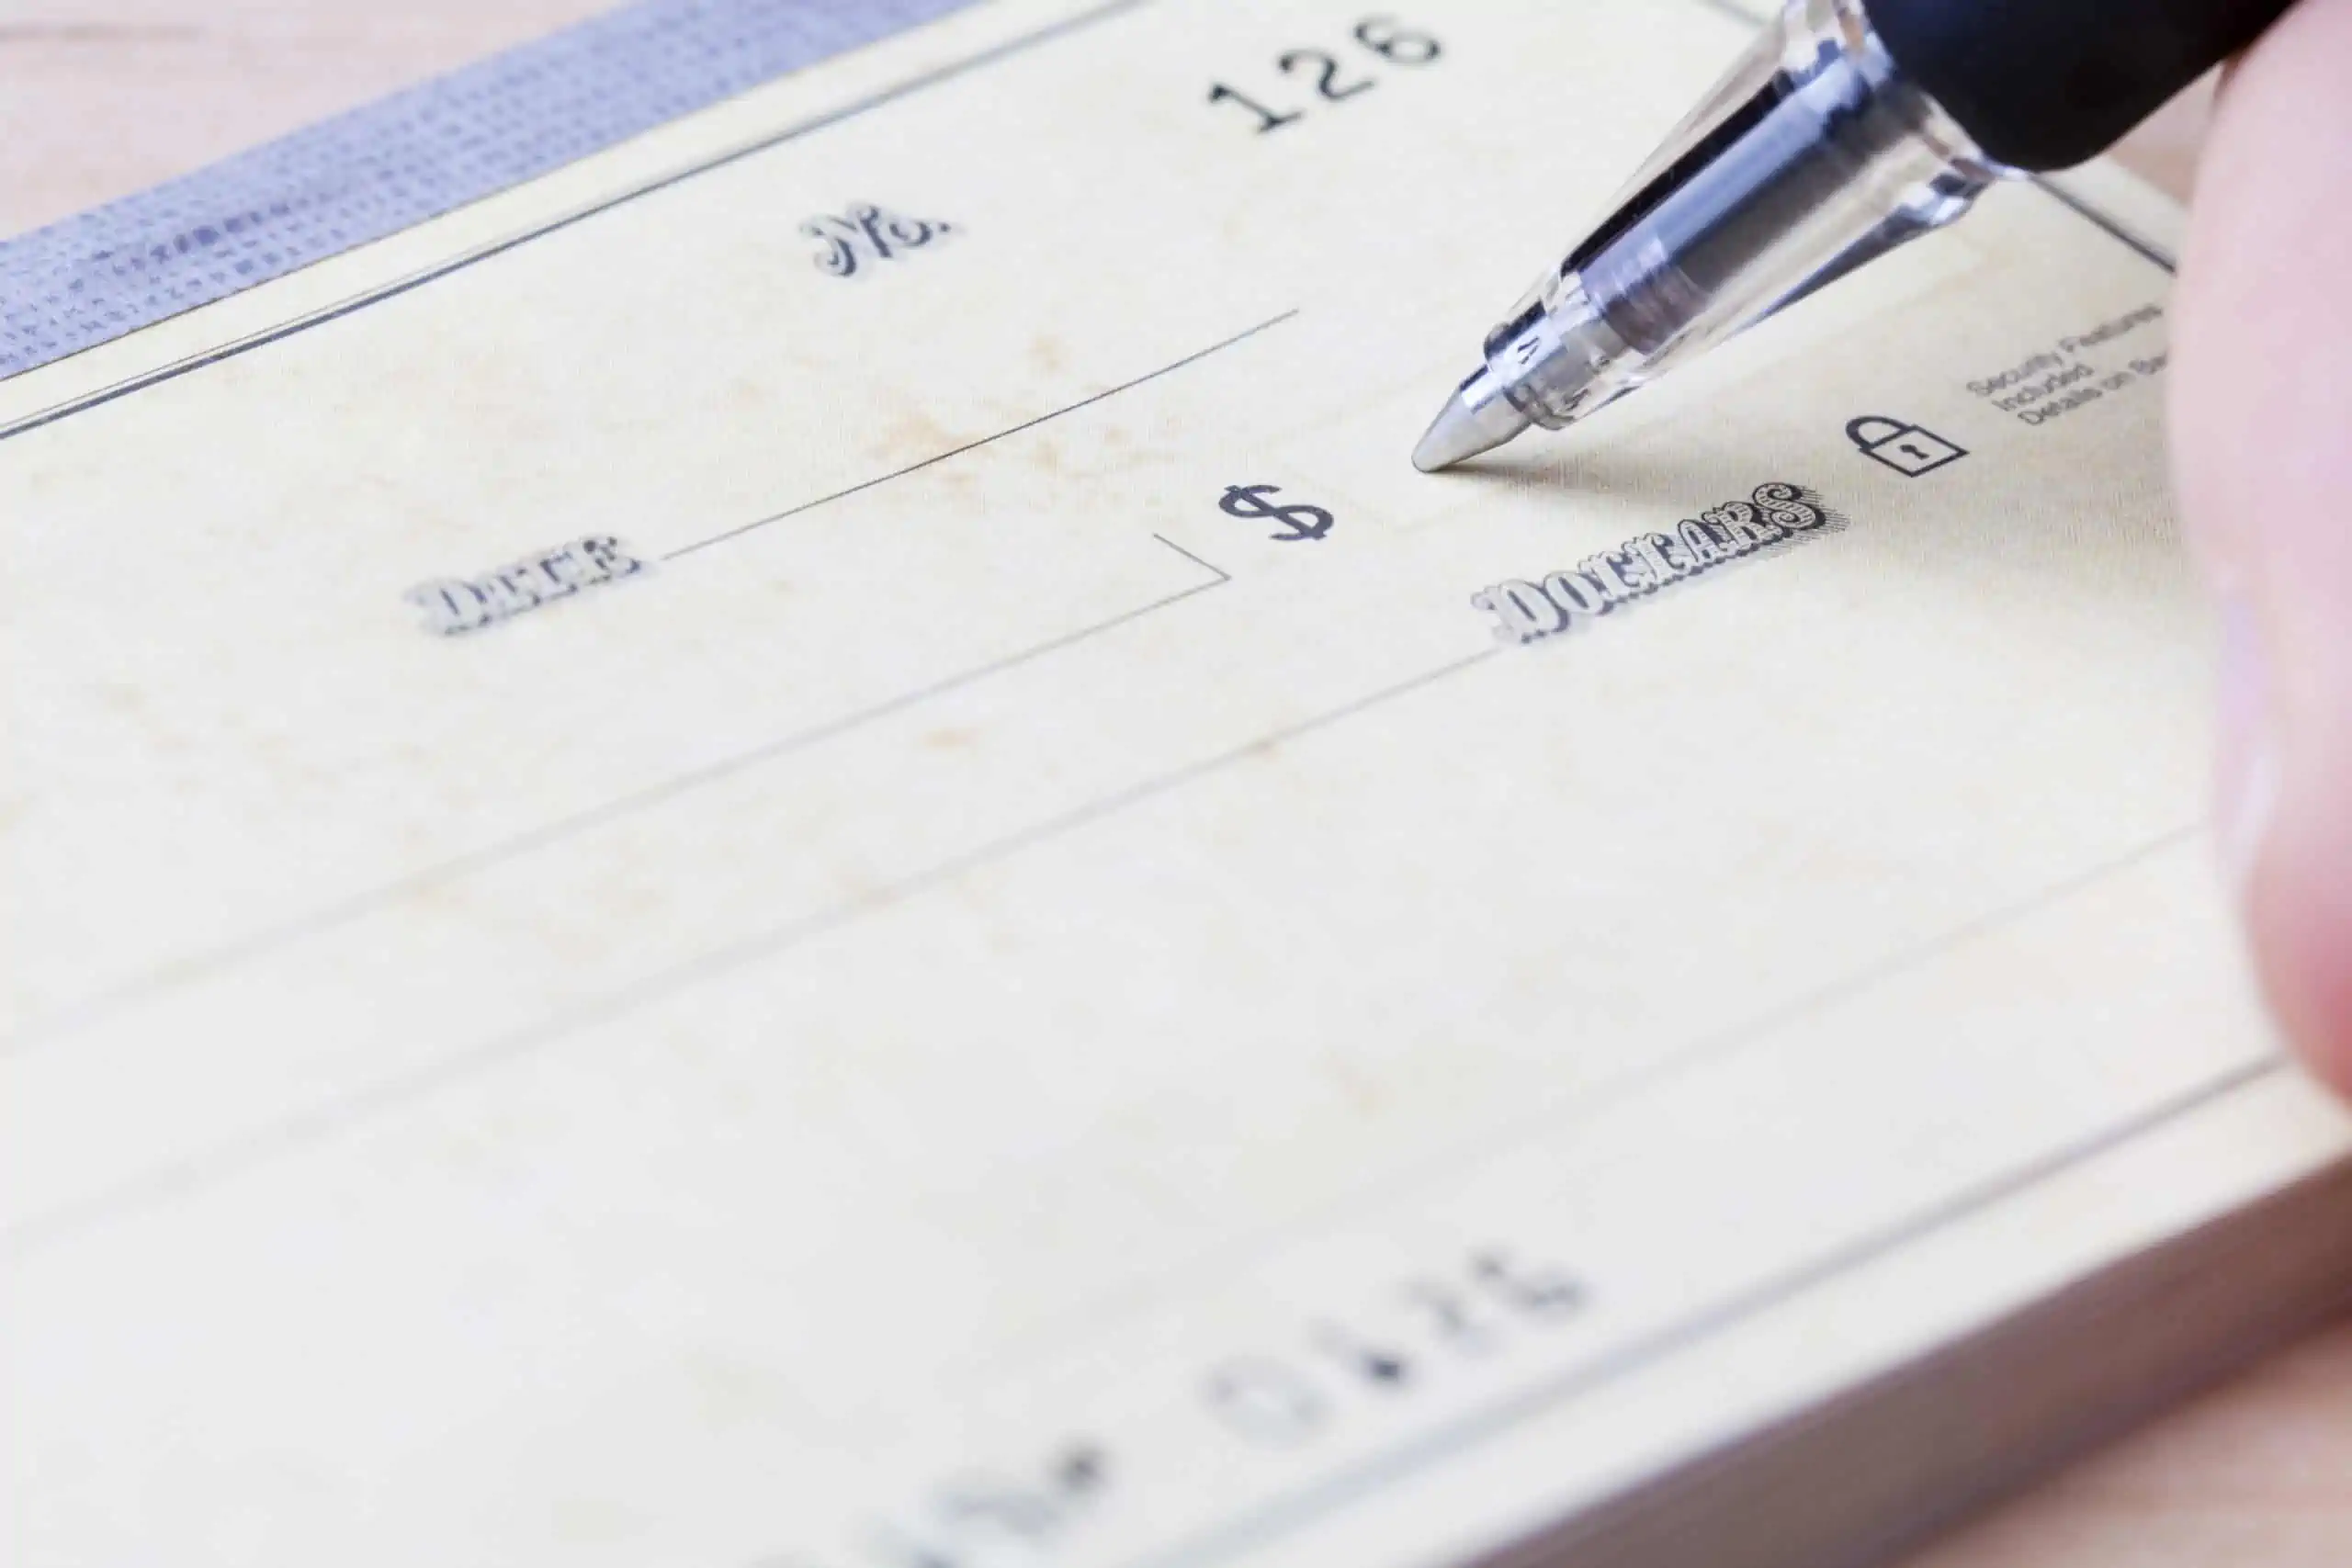
Step 1: Write In The Check Date
This might seem like a stupidly simple step but it deserves attention.
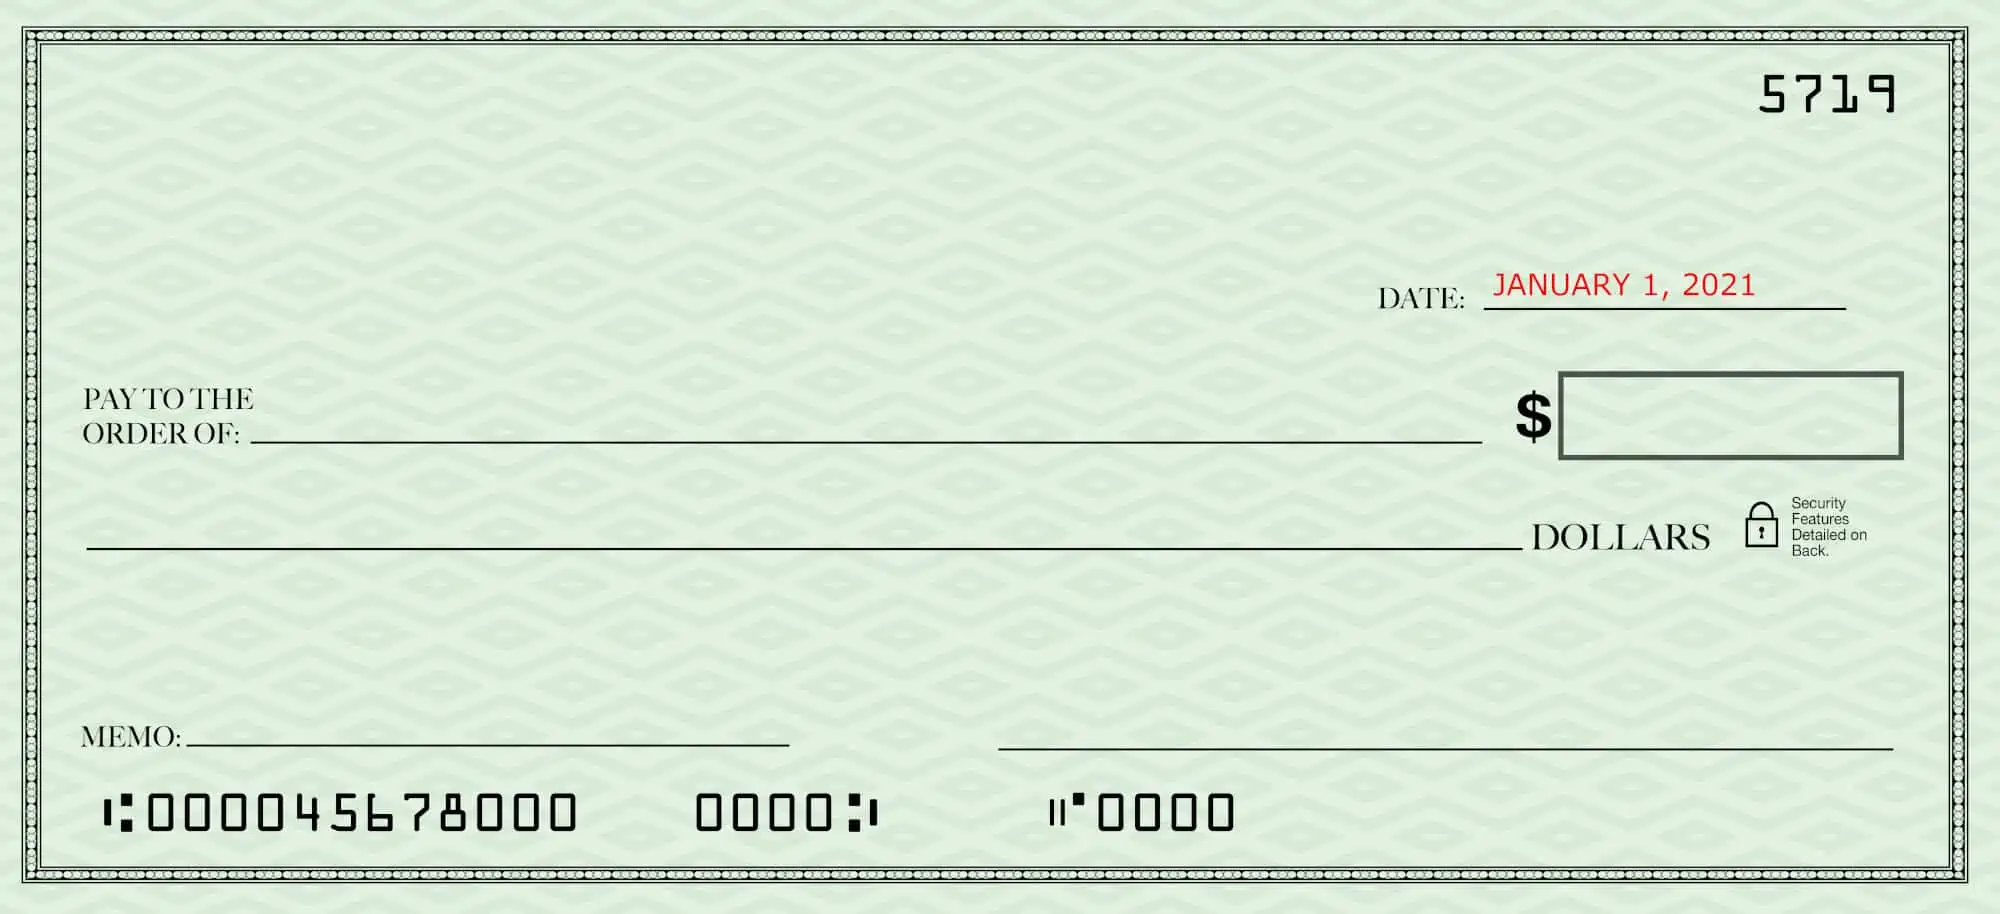
I used to work in a bank and can confirm that many people messed up the date!
Some people would fill out a check with a date in the future.
This is often done if you aren’t going to have the cash available in the checking account and don’t want the payee to be able to cash it and incur an NSF fee.
Some people make an honest mistake and use the wrong date, especially around New Year’s.
This causes problems because of what is called a “stale-dated check”.
Banks are not required to cash any check that is dated more than six months in the past, so making sure you use the correct date is very important.
Step 2: The Check’s Payee
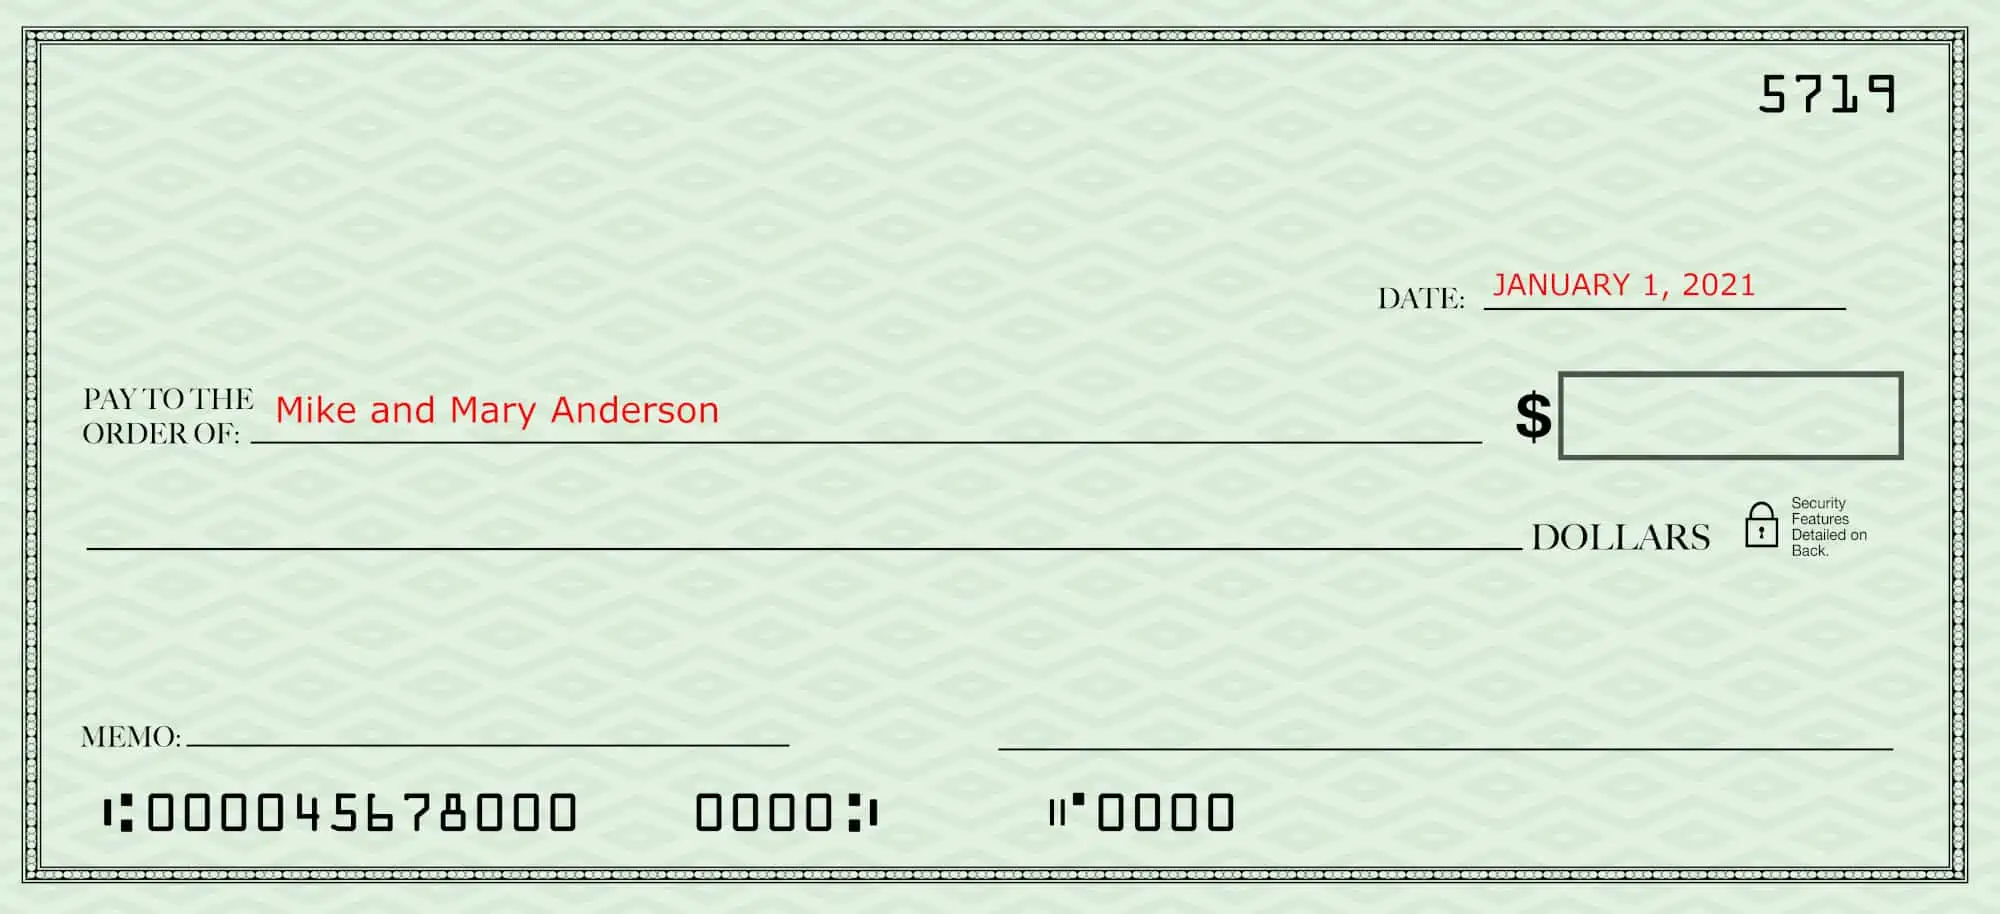
This one can be a little tricky.
When filling out a check the wording on the payee line is very specific.
In one instance you can list the payee as “cash”.
This method is good when you don’t know the name of the person who is going to cash the check–or you don’t care.
The danger in this is that if it ever gets lost, anyone can cash that check.
Another way to fill out a check payee line is to list multiple people.
This is done if you send a check as a gift to a couple for their engagement, wedding, or anniversary.
You usually put something like “Mr. & Mrs. Johnson” or “Mike & Mary Anderson”.
You need to be very careful because when filling out a check using “and” in the payee field, both people are required to endorse it.
The final thing to pay attention to is the spelling of the name(s) when filling out a check.
Sometimes, the bank will allow for minor spelling errors like “Gregg” for someone named Greg.
Other times, they will not allow a check to be cashed if the name isn’t as it appears on the account.
It may sound like a minor thing, but it happens!
Step 3: Spell Out The Check Amount In Words
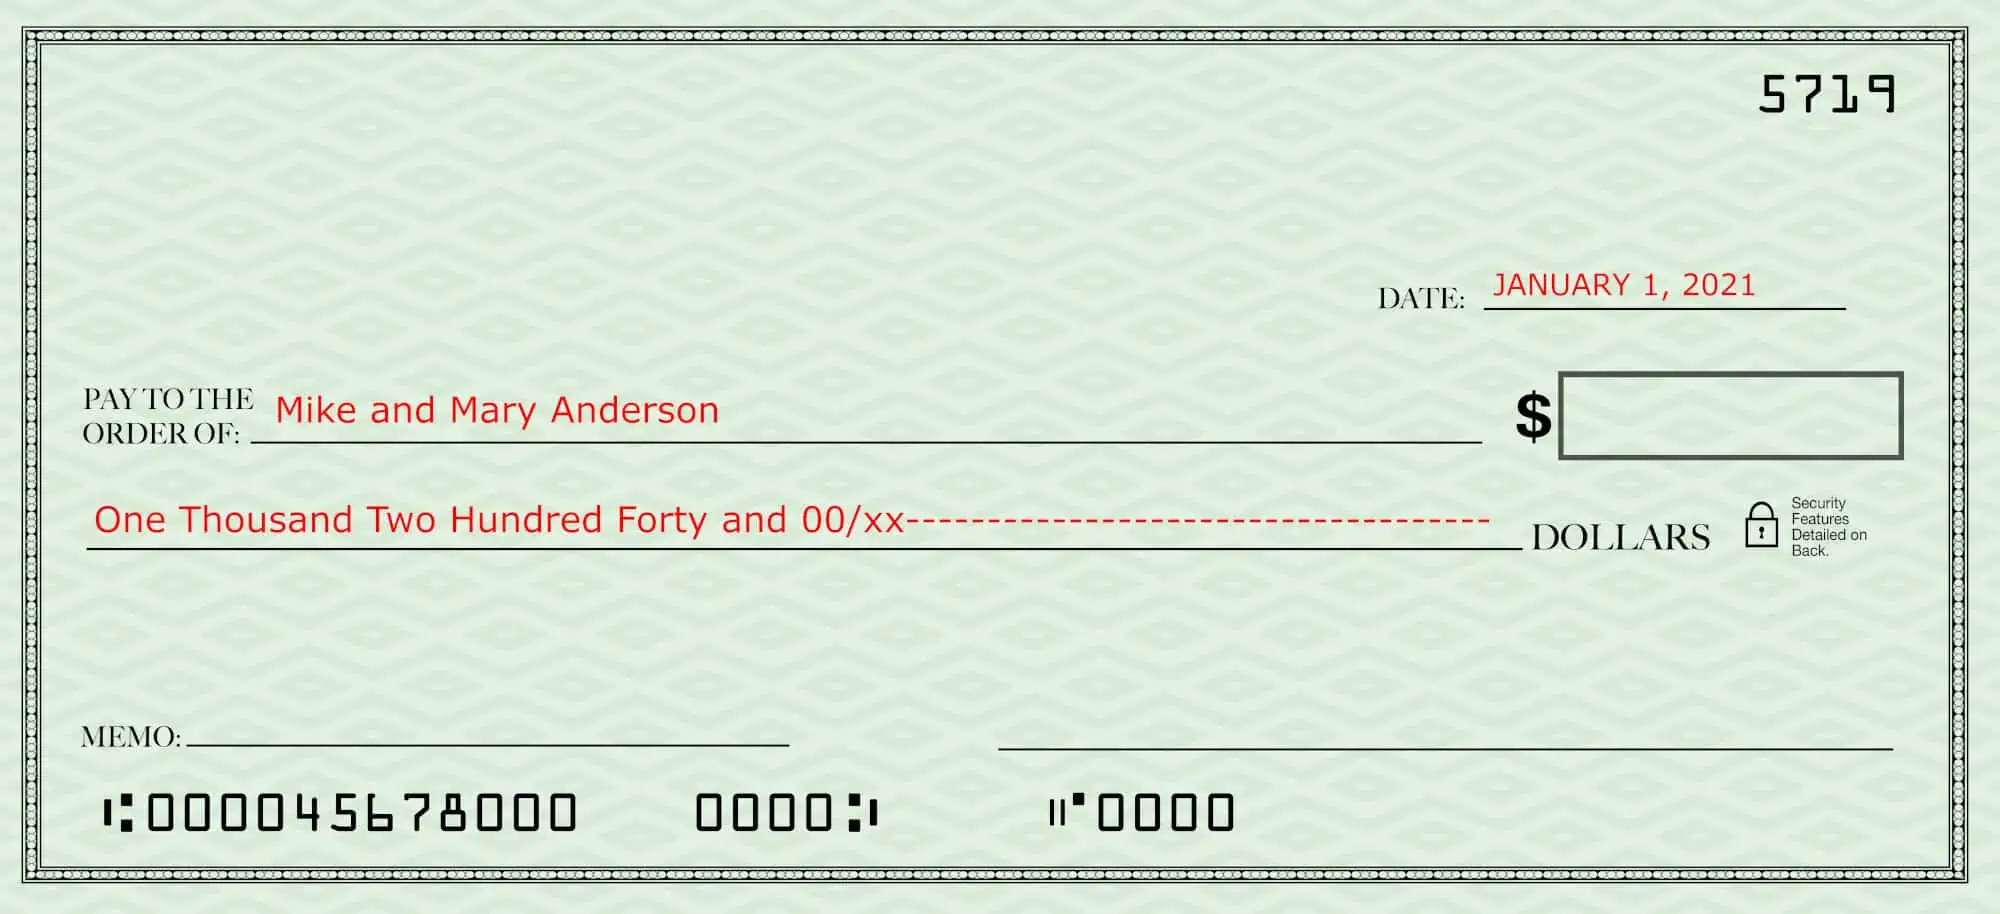
Now comes the fun part of filling out a check–and one I have admittedly been known to mess up.
If you think the rules surrounding the payee line were strict, you better buckle up!
Now, a lot of people will make this the 4th step, but I prefer it to be the 3rd.
Why?
Because this is the legal amount of the check.
It’s the amount that a bank will use if there is a discrepancy between the words and numbers on the check.
Want proof?
Check out the Consumer Financial Protection Bureau (CFPB) page on that issue.
This way, if you happen to make a mistake in the next section, you know that the recipient will receive this amount as you intended.
What you need to do is spell out the amount of the check completely, not shorthand or using slang.
I’ve always drawn a line from the cents portion all the way through to the end of the space.
Why?
It’s just a measure of security.
By drawing that line, it makes it more difficult for someone to change what you wrote.
Step 4: Write The Check Amount In Numbers
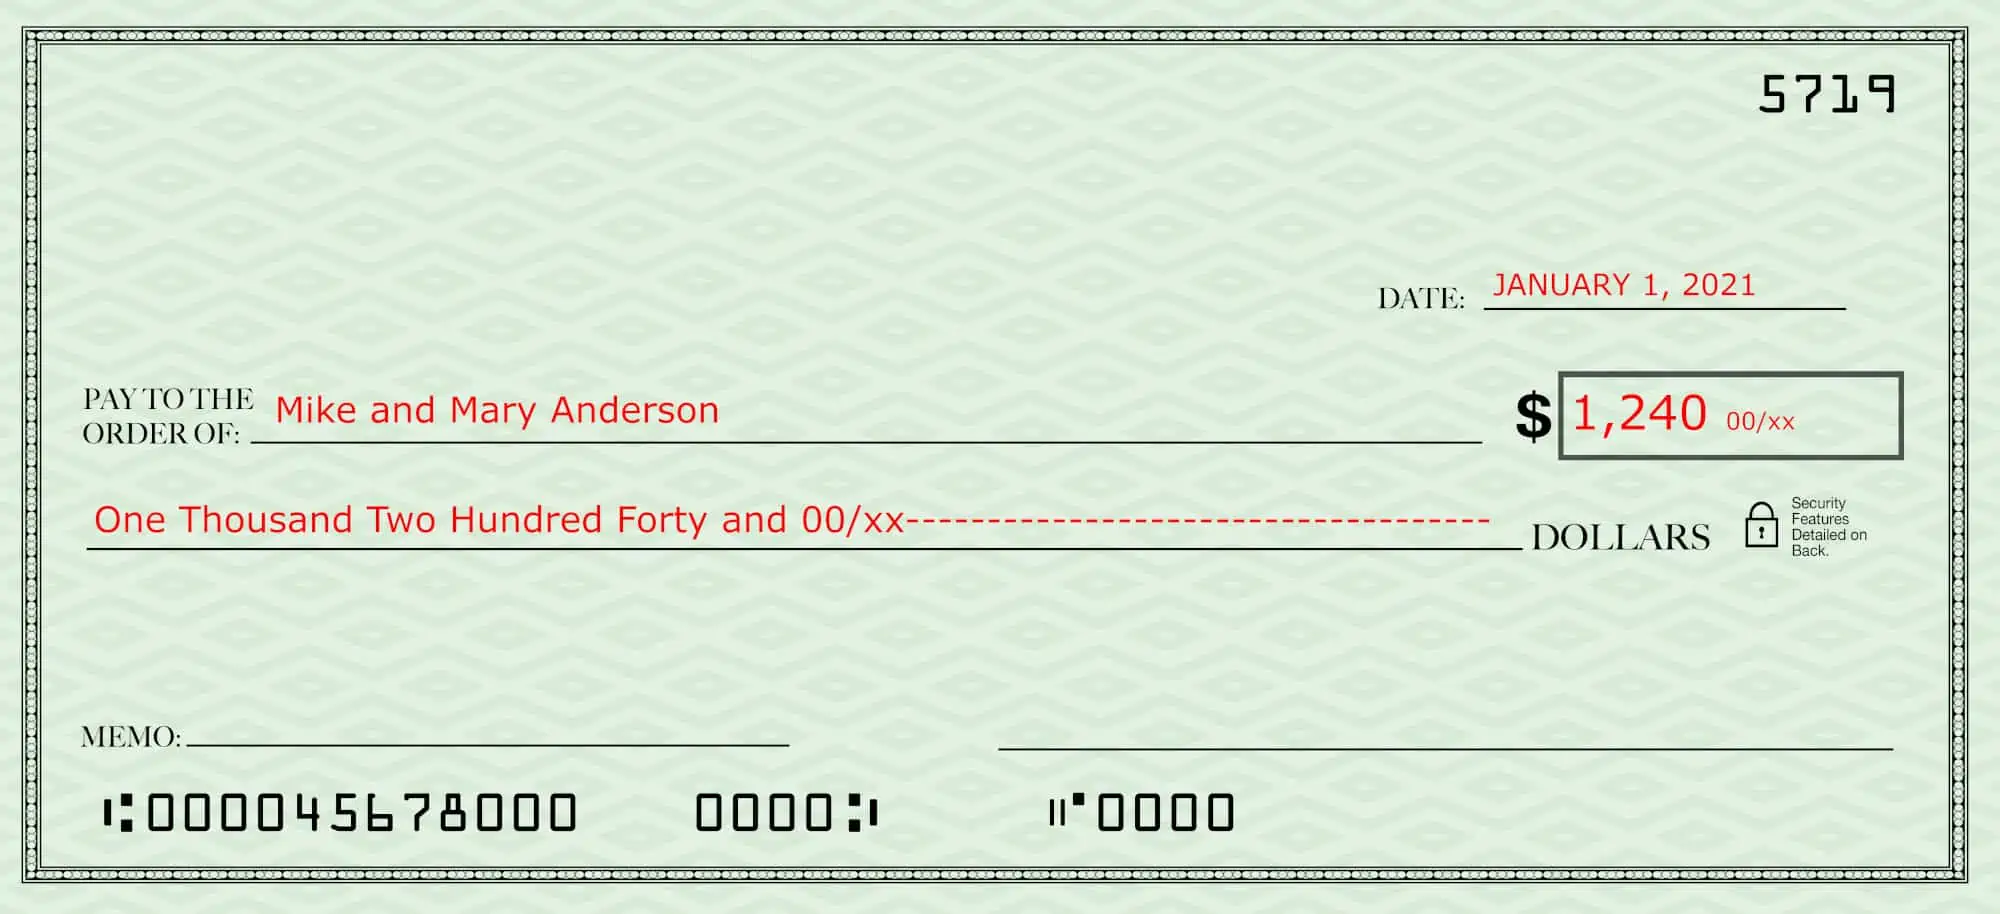
In this step of filling out a check, you simply do what we went over in the last step, except in numbers.
If you are using whole dollars, you still want to notate the cents as 00/xx to make it official.
Or you can write it as a regular decimal like $1,240.00
Both ways are valid and both will help to ensure that the payee (or someone else who got their hands on the check) can’t change the amount.
Step 5: Sign The Check
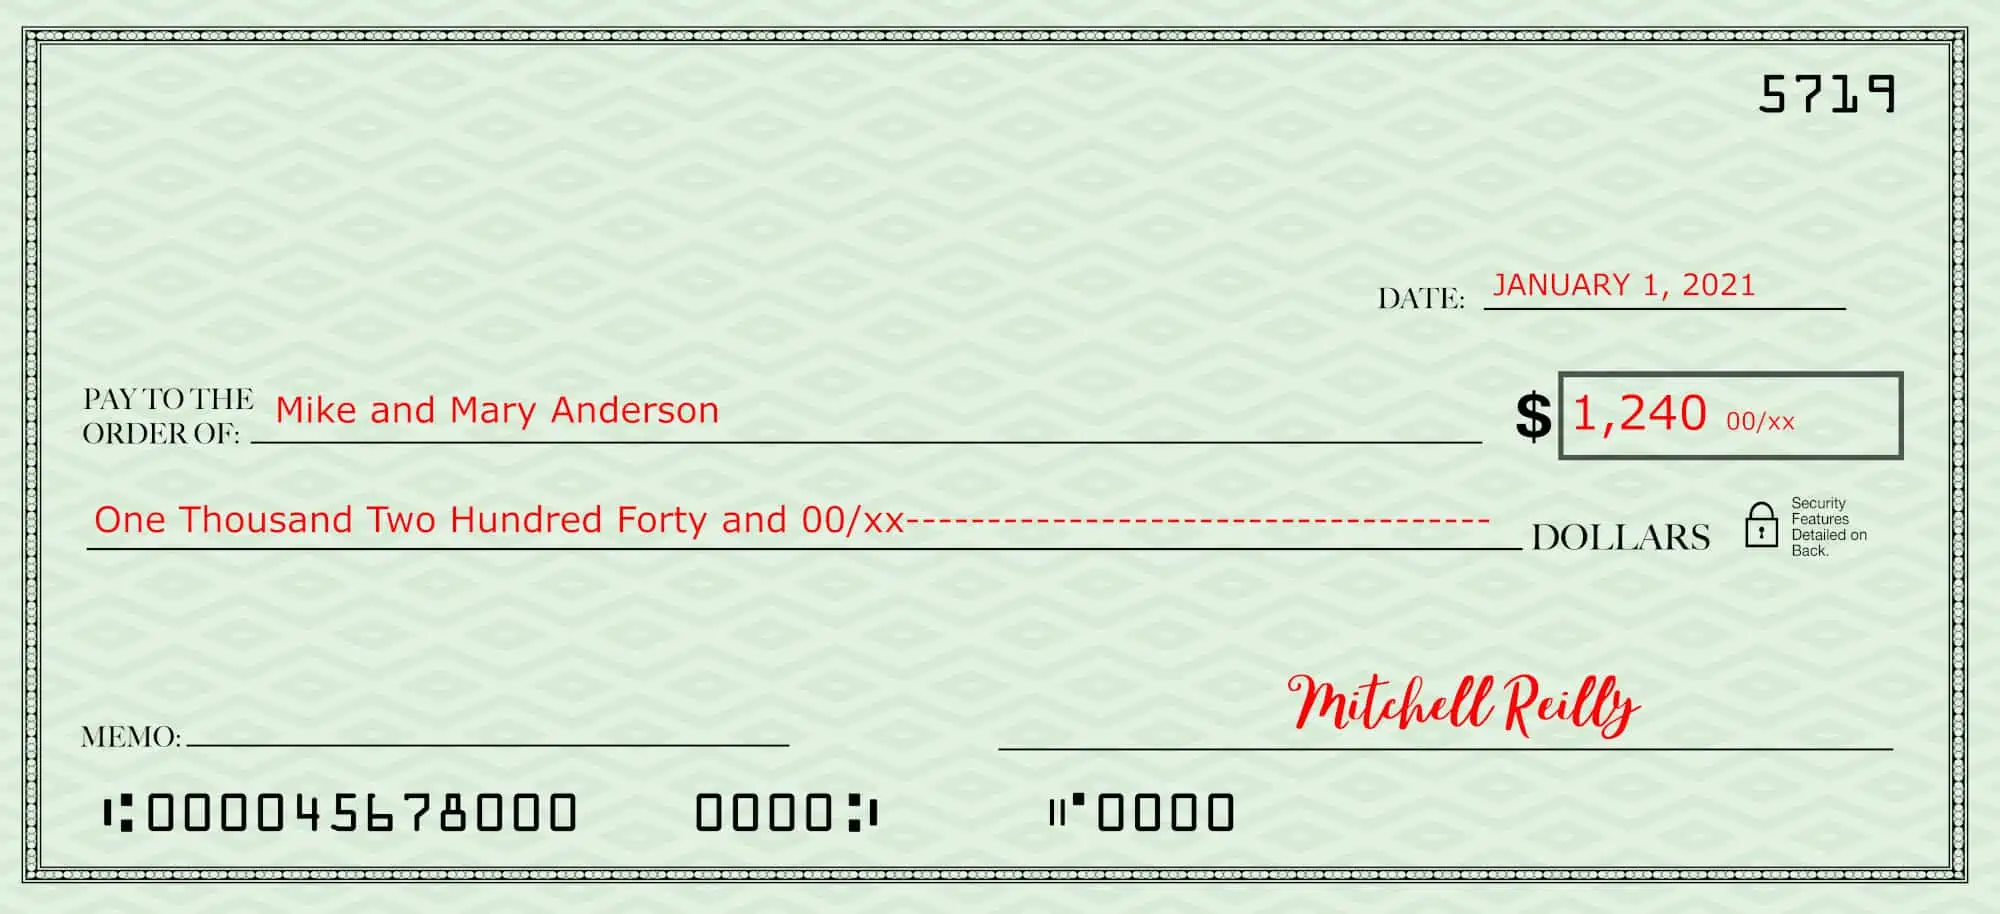
A check that isn’t signed is not a valid instrument.
There is no way around that at all.
That’s why a lot of people who carry checks with them choose not to sign them until they are at the bank or about to hand them to the recipient.
That way, if the check gets lost, no one can cash or deposit it.
Another thing to be mindful of is how you sign it.
Banks keep your signature on file to make sure that your signature on a presented check is…well, your signature.
If you vary it too much your bank might refuse to authorize its processing, and that may annoy the payee.
Step 6: Filling Out The Memo Field (Optional)
When filling out a check, the memo field is never a requirement in order for it to be cashed or deposited.
Most of the time, it’s simply for reference purposes like notating what it was for.
Sometimes, however, the memo field is required by the payee.
Take, for instance, mailing in your self-employment tax payment or the balance due on your income tax return.
The instructions call for you to use the memo field to list your social security number and the reason for the payment (From 1040, 1040-ES, etc).
The government will cash that check no matter what info you put in that area, but it may delay your account being credited (if at all if it gets separated from the coupon).
Don’t forget about writing checks to pay for :
Or any other payment that requires you to notate an account or identifying info.
Wrapping Up
There are a lot of people who only use credit cards and electronic payments.
There are also a lot of people who still hang onto the old methods like cash and checks.
The important thing isn’t about which group is “right”.
The important thing is knowing how to fill out a check should you need to.
If you’ve never done it before, it can seem like a daunting task.
Just follow these 5 easy steps one by one and you’ll have nothing to worry about.
Your Turn
Do you still use checks? When was the last time you wrote one? If you had to right this minute do you think you’d remember the “rules” for filling out a check without looking it up?

